Wednesday, June 15, 2011

ramblings

#tuesday

painting the house
our painter steve came by to take a look at the whole property. he's agreed to spray 3/4 sides so i guess my mom will have a time with the other. before we do our part, we'll have to remove the tree in between our place and the neighbors, plus a few bushes. sounds like fun, eh? he's coming early saturday with another guy and should finish up sunday. anywho, here's our laundry list:
  • 1 - 4' roll of painting paper
  • 3-4 - 2' rolls of painting paper
  • 1 gallon, white exterior semi-gloss paint
  • 1 gallon, porch floor paint
  • 10 gallons, exterior house paint
  • 5 - 8' long porch trim pieces
supplies to paint a house, porch trim photo to follow.
checking out at home depot. mom with the porch trim.

cleaning the kitchen cabinets
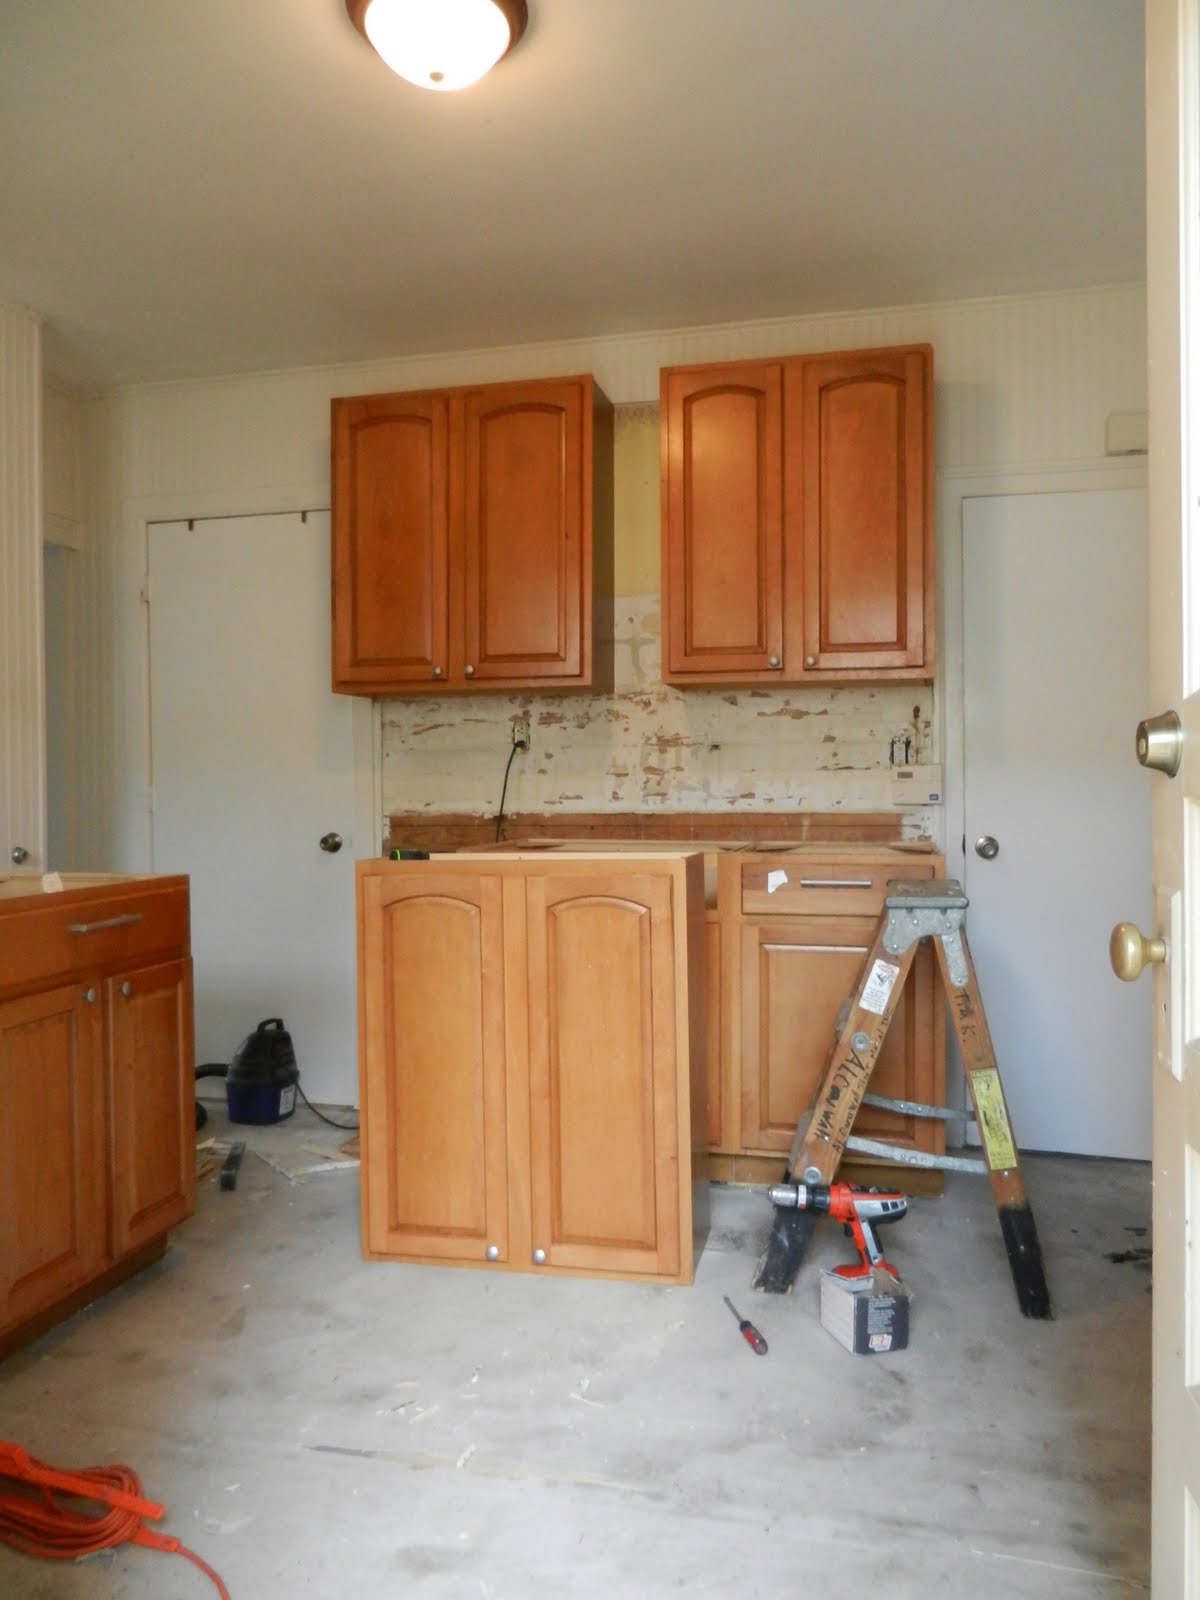
i finally got around to cleaning the cabinets, at least the upper ones. i stopped at walmart on monday and picked up some shelf liners. i'm hesitant to clean the bottom ones just because we don't have countertops yet and I'm worried that debris might fall into them after they're clean so that can wait. the funny part is the only things i have to fill in the cabinets at the moment include: (1) set of martini glass (2) a bottle of riesling, vanilla vodka and creme de cocoa and (3) poptarts, hot chocolate, a few granola bars and peppermints. i should probably get on that.

not much there yet, but i'll get there!

privacy in the pantry
i also got around to putting a privacy film up on the window in the pantry. not that i'm worried because it just looks out at gary's house, but atleast i dont have to worry about keeping the pantry shut. this film didn't have an adhesive backing. i merely had to clean, then wet (i was supposed to use a spray bottle but didnt have one) the window then squeegie (?) the film on. we'll see how long it lasts.


painting the furniture
mom also got around to painting the other dresser and bed frame. once i do the paint touch ups in the spare bedroom, it should be ready for use. atleast then the mattress and box spring leaning against the wall will have a home and i will actually have a bed i can use!

my grandpa's old bedroom set (brought into 2011) – almost ready for guests!

Tuesday, June 14, 2011

NEWS FLASH!


The house is getting painted on Saturday and Sunday!

Back track ... a few weekends ago, my mom was pressure washing the front porch to get rid of some of the chipping paint. While doing so, she was approached by a man who was doing some work on the corner house. He asked if she was planning to paint and if so, had anyone to do the job and therefore offered his services. She called today and he's going to paint 3/4 sides with the sprayer for $700. My mom and I will be responsible for the 4th (between our house and the neighbors) which we can just roll. I'm guessing paint will be around $300 bringing the whole project to roughly $1000. So excited to get rid of the peach and have a nice new facade! Now the question is ... what color? My mom suggested maybe the tree bark grey upstairs in the bedroom, which might just be worth considering ... I'm sure it would look lovely with a red or green door. :)

Thursday, June 9, 2011

taking care of business ...

Firstly, did I mention my mom bought an outdoor bar from an estate sale for $100?
Did someone say party on the patio?


My Vacation From Work
  • Touched up the Paint in the Office
  • Installed Chains for the Screen Doors
  • Repainted the side door and closet door an "off white." The color we thought matched the closet was really too white and made the doors stand out so I picked up a different color.
  • Put on First Coat of Deck Stain. It took 2 gallons of deck stain (well, close to). We picked out a color called Cappuchino. Half way thru the process, it started raining and we had to cover up the deck (documented below). Thankfully, it cleared up shortly later and we were able to finish the first coat.

Before (pressure washed)
Supplies
Getting Started
... then came the rain
El fin ... with the first coat that is!
  • Installed Folding Doors for the Utility Room
  • Installed Blinds for the Closet, Kitchen and Back Room
  • Re-Painted The Living Room (I bought a gallon of the closest matching brown and went for it. Luckily, it blended enough that I didn't have to repaint all the edges. I'm pretty happy, it makes the room look fresh).
  • Started touching up the walls of the master bedroom... they need some work but nothing a little joint compound won't fix!

This Past Weekend:
Saturday, Mom and I did yardwork the whole day. Mainly, I wanted to remove all the "brushery" by the deck. I wasn't sure exactly what was planted there, but it was very overgrown and in my opinion, an eye sore. My mom took some of what we dug out home (a forsynthia i know for sure) and we moved the lemon plants (an herb) to the other side of the yard. I knew it would be hot out so I wore a bathing suit but at the time i left the house, it wasn't sunny. Therefore, I didn't think to bring sunscreen and boy did I get burned! Today (Thursday), I'm finally starting to peel eep.


Before – an overgrown eye sore in my opinion!
Much better!
The other big progress of the day was the kitchen cabinets went in. All, but two that is. Over the course of 7 hours, he was able to get them all in except for the one that i call the "fake island." It's not really an island because it will be attached to the wall, but it's the closest we're going to get. It's also meant to be a corner so there is more space in between the drawers, but handyman Tim is going to widen them and put in wider drawers (we have extras) so you won't even notice! (phew). We also need to locate a 27" upper cabinet to fill out by the stove. We had a 30" upper but even with taking out some paneling encasing the chimney, we're 1.5" short. Luckily, we have some extra cabinets we can take the doors off of. Next step ... countertops, backsplash, and repositioning wall paneling.

Our handyman Tim does great work!

On Sunday, my mom did some appliance hunting. My mom said she knew of a "scratch n dent" used appliances store on Miles Rd. but forgot the name. After doing some online research, I came across it. True Deal Appliances. We drove out to Warrensville and ended up walking away with most of what we needed. It was interesting. It was a huge warehouse of new and used appliances and it appears that only two guys run it. There was a store across the street that was closed with a True Deal sign, but the warehouse across the street was not labeled. We got a brand new white LG refrigerator ($550), used white GE stove ($175), washer and dryer set ($400/pair) and a brand new mattress and box spring set for the spare bedroom ($275). He gave us a little bit of a discount for buying multiple appliances, but not huge savings ... around $50. But heck, everything was discounted already! Since we were still out of luck with finding an 18" mini dishwasher, we went over to B&B Appliances (which appeared to have the cheapest new ones) and ordered a white one for $349. Should take 10 days to get here. The last thing we're in search of is an overhead microwave for the stove. I don't imagine it should be too hard to find.

This Week:
Over the course of two days (Monday and Wednesday), our handyman Tim installed the kitchen and utility room floor tile and grouting. The vinyl tile I picked out is called "Mammoth" and my mom actually used it in one of our rental houses so it was easy to come to a mutual agreement. The grout color is called "Earth," Both carried at Home Depot. We also looked at some vinyl wood flooring planks that we might consider for the dining room, but that would be a future project.


Tuesday: My goal for moving out. #Fail

Today:
Appliances were delivered! They still need hooked up and cleaned, but still a huge step closer to moving out! :)

Used Washer and Dryer
Used Stove
Like New LG Refrigerator
Over the stove microwave


Friday, May 13, 2011

A few more updates...

So the family room "bar/entertainment space" is finally starting to shape up. My mom and I successfully installed the vertical blinds and put up blinds on the window missing them ... with those two items, it is really starting to look finished. I will admit, the first time we installed them 2" too high and had to lower them later ... just a minor adjustment. Can't wait to use this space. :) I'm also proud to report this past weekend I slept in the house for the first time and survived ... this is a good sign.

Recently Added Vertical Blinds


A few more minor posts ... I finally assembled my dining room table and cleaned it up a bit. Still needs some love on the top surface, but for now is very usable. I also bought some vases for the living room and spare bedroom at an estate sale. 50% off ... 3 vases for $12.50. Now I'd say that's a deal!

My dining room table ... I got the whole set for $95!
Some new decor for the living room...
Two Green Vases ($5.50, estate sale)
Purple throw pillow ($11.99, Target Clearance)
Decorative Vase for Spare Bedroom ($7.00, estate sale)

A Girl's Dream

so after 2-3 days of work, i finally have my walk-in closet. I knew I would need atleast 8-10' of closet space, especially considering the fullness of my current closet which is 10' as it is. I prefer things to be hung, primarily bc they are easy to pick through. I looked at both Lowes and Home Depot to find a kit that would work best for me. I figure it would be more cost effective, flexible and less work to buy a kit. Home Depot carries Rubbermaid, while Lowes carries Closetmaid. The kits come in sizes ranging from 3'-6', 5'-6', 6'-8', 6'-10'. I'm sure more sizes are available online. Lowes was the only one that compared the 6'-10', but over the span of 3 weeks ... never had any in stock so I came up with plan b. I purchased 2 3'-6' kits for $83/each and using my 10% entire purchase coupon, ended up paying less than I would have for the 6'-10' kit and got more. I'd say that's a steal.

I had asked Adam to help build it but we were haulted rather quickly in the process. The wall anchors that came with the kit were meant for drywall and considering the house is composed of 90% plaster, we had to stop and make a trip to the hardware store. Unfortunately, even after asking for help from a Lowes employee (pointing out the kit I had bought there and what I needed), he still seemed unsure about what he should suggest. Luckily, it worked out bc I bought a variety. I picked up a pack of #8 and #10, and one with just #12. My mom started on Wednesday (5/11) and frustratingly, had a bit of difficulty trying to get the anchors in the wall. We had to try various drill bits, other than those suggested to make a "pilot" hole, then a larger hole to accomodate the anchors. When pounding in the anchors, you could hear the plaster falling behind the wall. One of the biggest problems was the anchors would fall "into the wall" and my mom had to attempt to pull them out. Oh, did I mention the upstairs needs a second fan bc woo wee, it was hot. But anywho, over the course of 2 days ... we got it up and also decided to upgrade to 12'. What I like is that I can move the brackets to create exactly the configuration I need and if I change my mind, I can easily change it. For now I'm thinking mostly double hang, shelves in the middle, then some long hang space on the end. I still have to add on the shelves themselves and I may go to Lowes to get some additional pieces or decorative covers for the shelves... but for now, here's a few photos to show the progress. :)


Wednesday, April 27, 2011

From Pink to ...

What was formerly a little girl's bedroom has now been transformed into a spare bedroom fit for grown-ups. Color of choice: Tree Bark Grey.

Before:


After: